 STEP ONE: GATHER SUPPLIES
- Large white parachute
Order large white “play” parachute online. There are a few common sizes (12 ft/3.5m, 16 ft /5m or 24 ft /7m. Search for “Play Parachute” or “Color-Me Parachute” They are available at PlayParachutes.com or S&S Worldwide as well as other retailers. They can be expensive ($50 to $150+ USD), so make sure you have a budget for this type of banner!
- Latex or acrylic paint
Get bright strong colors of latex house paint or large (½-1 gallon) containers of acrylic. If paint is thick, thin it with about 1 part water to 3 parts paint, so it flows easily, but still covers solidly. You can pour paint into quart- sized yogurt style containers and use foam/bristle brushes of various sizes. Make sure to paint out any heavily painted areas where paint has pooled, so it will dry faster.
Let the paint dry completely – for as long as you can. For the first week try not to compress tightly or fold so paint is touching paint. The fresh paint can still be a little tacky and stick to itself.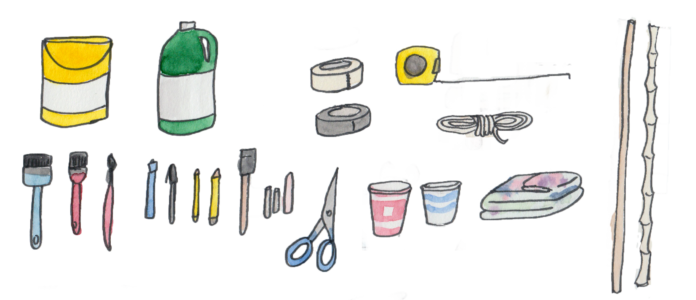
- Paint brushes (have a variety of sizes, and make sure they are in good shape, i.e., not frayed)
- Old yogurt or plastic containers and some lids
- Drop cloths
- Pencil and paper (for sketching design)
- Permanent marker
- Straight edge
- Duct tape or masking tape
- Multiple strings (minimum length slightly
longer than the radius of your parachute) - 1 – 1.5 m/3-5 ft pole (bamboo pole, a
broom handle, etc.)
STEP TWO: DESIGN
Decide — What few words and what simple, clear image(s) communicate some of your core message or story? What colors?
Tips:
- Keep it simple – the more complex the image and the more/longer words you choose, the longer it takes to lay out and paint. Many of the parachute photos in media coverage are taken from below, with light shining through like stained glass windows, whether or not the words and images are clear.
- High contrast – between the background and the text colors!
- Circle layout – Laying out a design and text in a circle or arc works well, but you can also have your text run horizontal.
- Look at examples – search “parachute climate” or “parachute protest” online to see other designs and how they were photographed in the media.
STEP THREE: FIND SPACE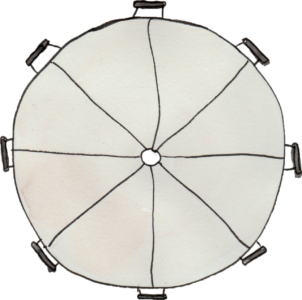
You’ll need a space big enough to lay your entire parachute out flat. Get a flat, ideally smooth, place to lay it out and paint it. There needs to be flat space at least the size of the parachute laid out. If your parachute is 24’x’24’/ 7m x 7m, that’s a pretty big space. You may have to find an outdoor space.
Some possibilities include garages, gymnasiums, empty classrooms, community centers or outdoor spaces.
STEP FOUR: SPREAD THE PARACHUTE
- First lay out drop cloths (such as canvas, plastic drop cloths from paints stores or hardware stores, or old sheets) underneath your parachute because the paint will bleed through the parachute. You’ll need to protect the surface you chose to work on to avoid leaving permanent artwork.
- Secure the drop cloths to the floor or ground (and to each other if there are multiple). Get duct tape (gorilla tape if taping to concrete or blacktop) or wide, high-quality masking tape (for wood or linoleum indoor floors) to tape down the drop cloths – fully stretched out– to the floor and and to each other.
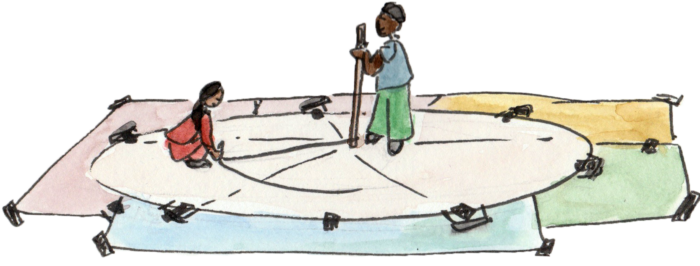
- Spread out the parachute on top of the drop cloths. Then use the duct tape to tape the parachute down so it’s flat without wrinkles. You can tape under each black handle, starting at two spots on opposite sides with tape at each edge.
STEP FIVE: LAYOUT THE DESIGN
Layout your design on the parachute. Sketch in pencil first and then draw using a permanent marker that is the same color of the image/paint color.
Tips:
- Use a straight edge/stick for straight lines
- Count and use the 20 parachute seams to divide up the space evenly.
- Make circles with a string compass– put a string with a loop in the exact center and have someone hold it with a marker or a stick. Then draw the circles you need for the design with a pencil at the end of the length of string.
- Everyone who is walking on the parachute should be in socks only, no shoes.
STEP SIX: PAINT
- Use bright strong colors of latex house paint or acrylic paint.
- If paint is thick thin it with about 1 part water to 3 parts paint, so it flows easily, but still covers solidly.
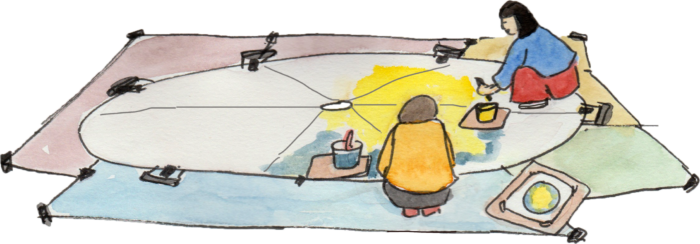
- Pour paint into yogurt-style containers and paint with both foam and bristle brushes of various sizes. You can set paint containers on a piece of cardboard or box top rather than directly on the parachute in case they drip.
- Start from the center and work your way out.
- If there are drips, wipe them off right away with a wet rag.
- Make sure to paint out any heavily painted areas where paint has pooled, so it will dry faster.
- Once you finish painting let the paint dry completely–for as long as you can. For the first week try not to compress tightly or fold so paint is touching paint–roll it loosely and don’t compress until it’s a week old. The fresh paint can still be a little tacky and stick to itself.
STEP SEVEN: MOVE IT AND USE IT!
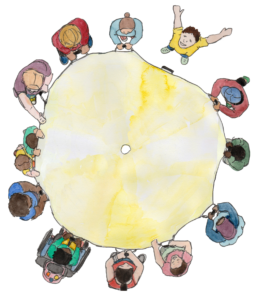
Get some folks to practice before your public event and plan on parachute games. Practice pulling the parachute taut so it’s perfectly flat and readable. Practice tipping the back side up to the holder’s chin and the front down to the ground, with the holders kneeling so it can be read (and photographed!) from directly in front. Try to get your photographer up high . . . on a ladder, wall, roof, etc.
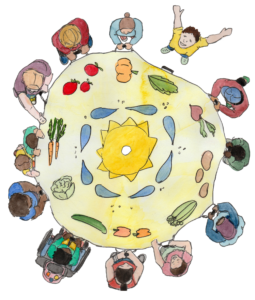
Add climate themed parachute games:
- “Make waves for climate justice!” — make waves/ripples in the parachute.
- “Rise up with the (people, earth, movement, climate justice, etc.)!” — everyone lifts up. Have everyone count off 1-2, 1-2, etc. — and while keeping the parachute up call out: “2’s trade places!” . . . then all the #2 people run under the parachute, and take each other’s places. You can have a short dance party in the middle.
- “Down with (Big Oil, fossil fuels, fracking, oil trains, oil/gas pipeline, etc.)” Bring parachute edges to ground.
- Throw an inflatable earth ball (like a beach ball—make or buy online) and play Save the Earth!
